Here is latest batch of wheat paste resist portraits, and as several people were asking how I did them, I am going to attempt an explanation.
First off: the wheat paste--This is just a mixture of white flour and water. Remember making paper mache things when you were a kid? It's exactly the same thing. I experimented some with how thick it should be, and concluded that I like it best when it's really thick, like thick pancake batter.
Then, I brushed it onto the paper. The paper needs to be really good paper (ie, 100% rag paper) and really thick paper (300 whatever unit is used to measure thickness--pounds? grams? I don't remember), and this is because it's going to be subject to a lot of soaking and rubbing when its wet, and you don't want it to disintegrate.
Let it dry. It will take awhile (at least 24 hours), and it will curl up.
When it's dry, very gently flatten it out, and maybe even bend/roll it the opposite direction. You may or may not be able to see the cracks in the dried wheat paste, but they're there.
Then, brush full-strength India ink over the entire surface. Drench the surface. What's going to happen is that the ink is going to seep through the cracks in the paste (which are most likely invisible to your eye) to the paper.
Let the whole thing dry. Another 24 hours is probably best, as you want even the ink deep in the cracks to be 100% dry.
When it's completely dry, run warm water over it in the sink. Gently rub on the surface. Some of the ink will come off, and you'll get down to the now slippery wheat paste level. At this point, I leave the paper soaking in water because it takes awhile for the wheat paste to soften up. Periodically, rub gently over the surface. Eventually, you'll rub off all the wheat paste (and do get it all, for while the paper may be acid-free, mice love wheat paste).
You'll end up with something like this:
At this point, you have an interesting surface, which you can then put ink washes on, draw on with pen and ink, or do anything else that appeals to you.
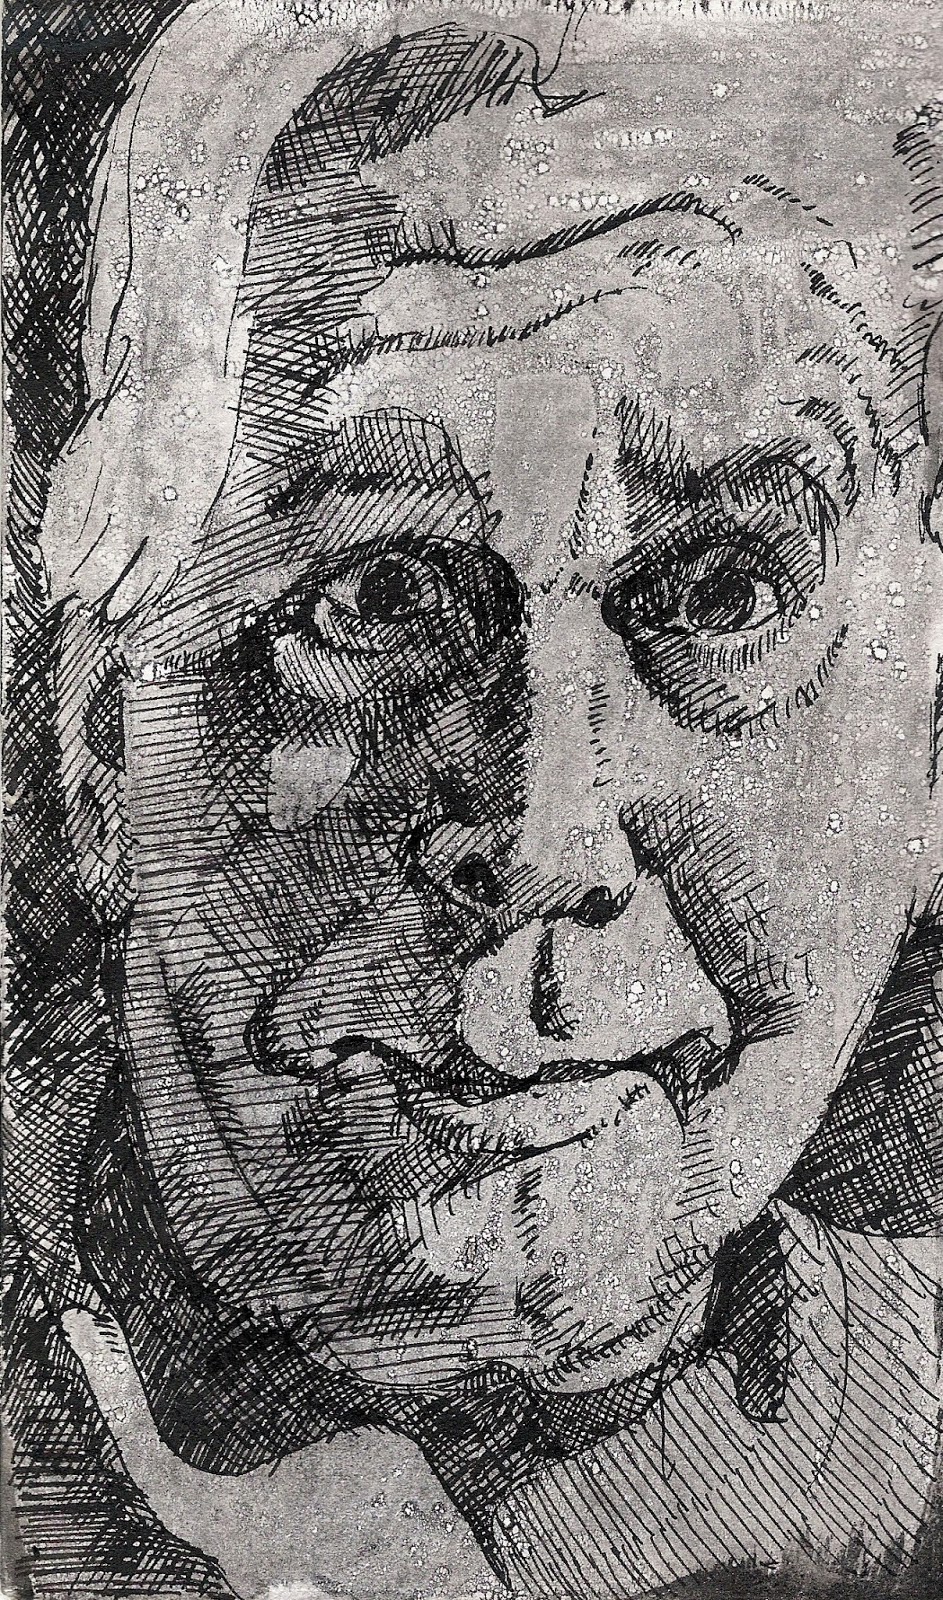
On most of these I also did an additional gouache resist on the side of his face (cheek, nose, chin, etc.) for the white areas (I had made a drawing on the paper before I started anything, but all the pencil gets rubbed out with the wheat paste, so I basically had to redraw everything with only the white spaces as guides. All of these have a wash of ink over the original wheat paste crackle, which I then let dry before I started the pen and ink drawing.
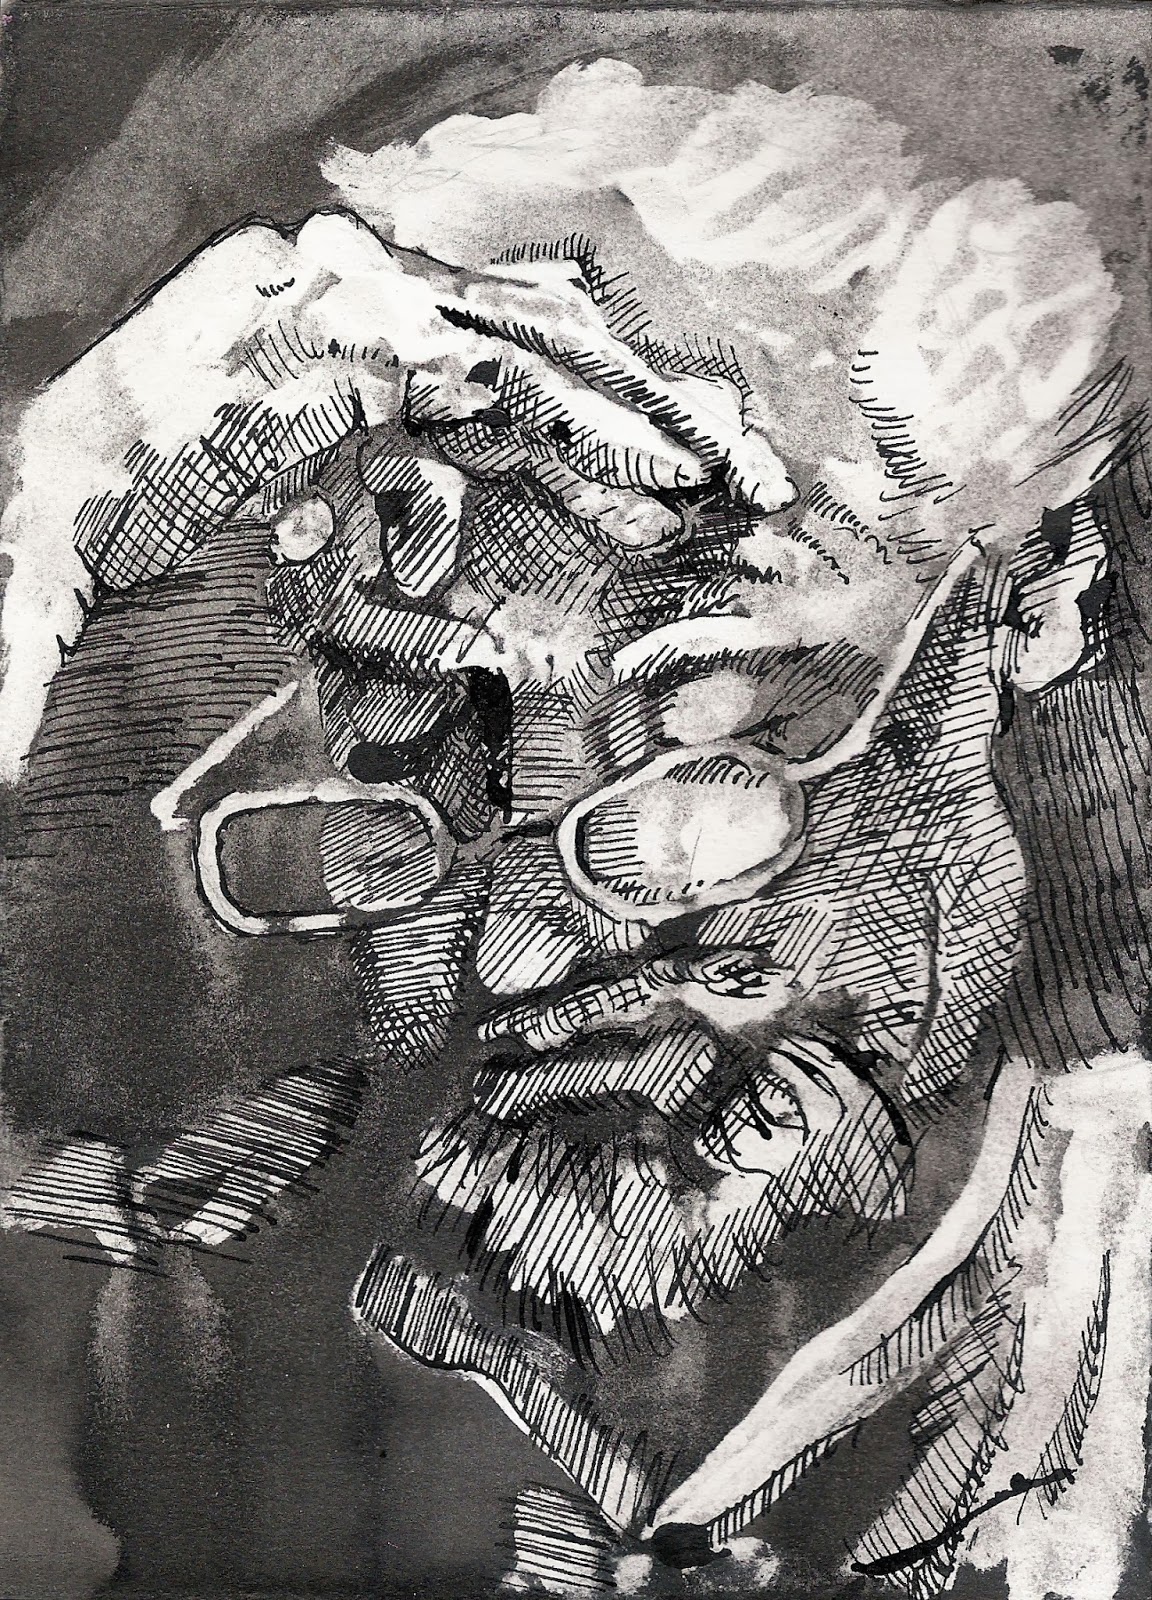
This one doesn't have the gouache resist, and it feels way too gray to me. Also, the wheat paste was too thin, and didn't get the crackling effect. (But I like the drawing!)
This one didn't work out so well. The paper tore from the cracking of the wheat paste (from her nose out to the right side of the paper), which is one of the dangers of this. Okay, also the drawing wasn't very good.....
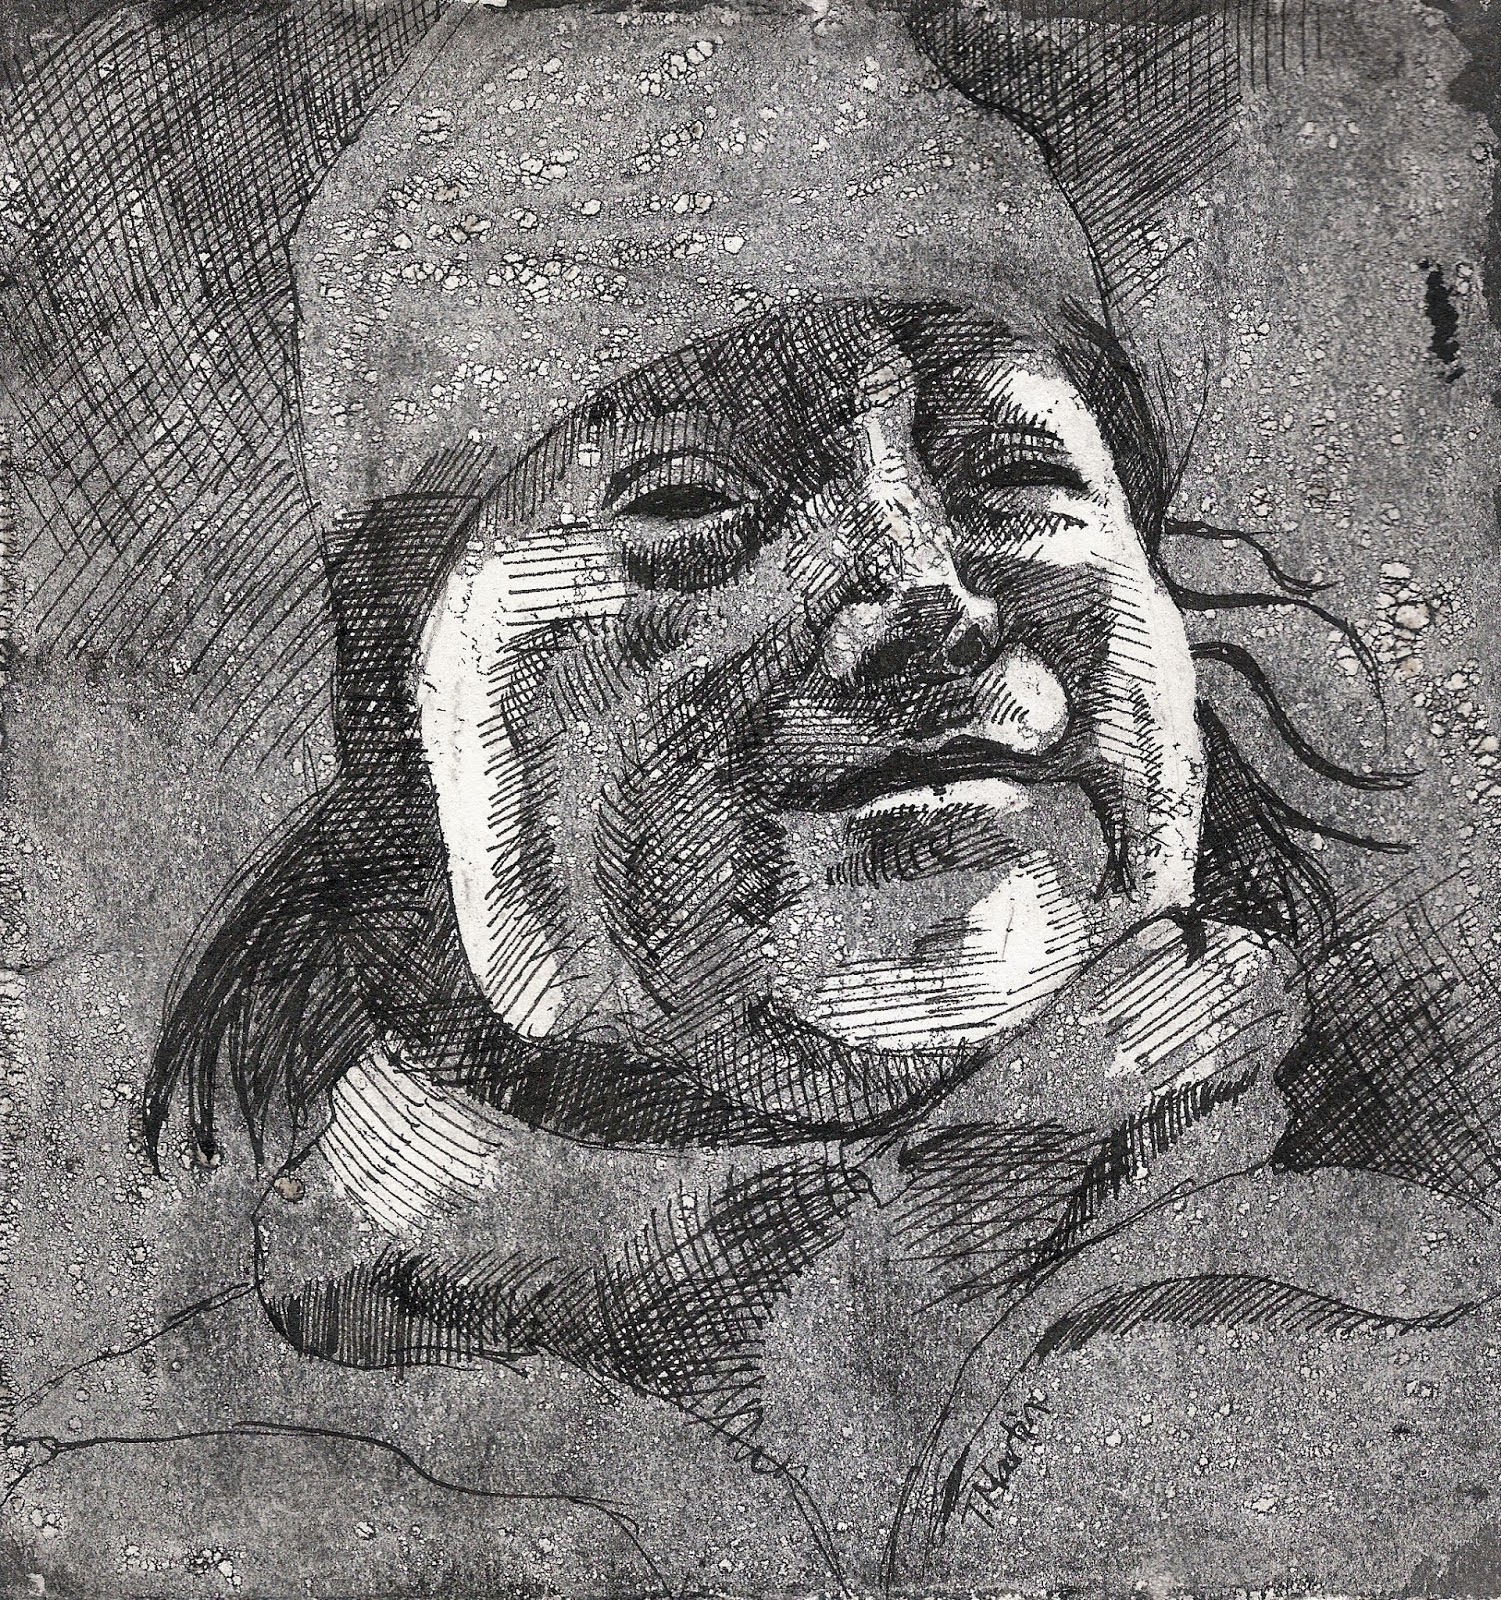
I liked this next one a lot....even though the glasses turned out all wonky.
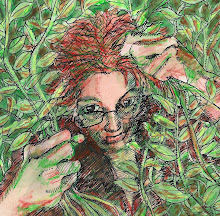
And this one didn't turn out very well either. I completely lost the drawing in the washout, and it didn't reconstruct very well.....
So I have about a half and half success rate. Two of these I REALLY like, one is okay, and two didn't work out at all....