Showing posts with label JKPP. Show all posts
Sunday, June 1, 2014
Gouache resist and India ink
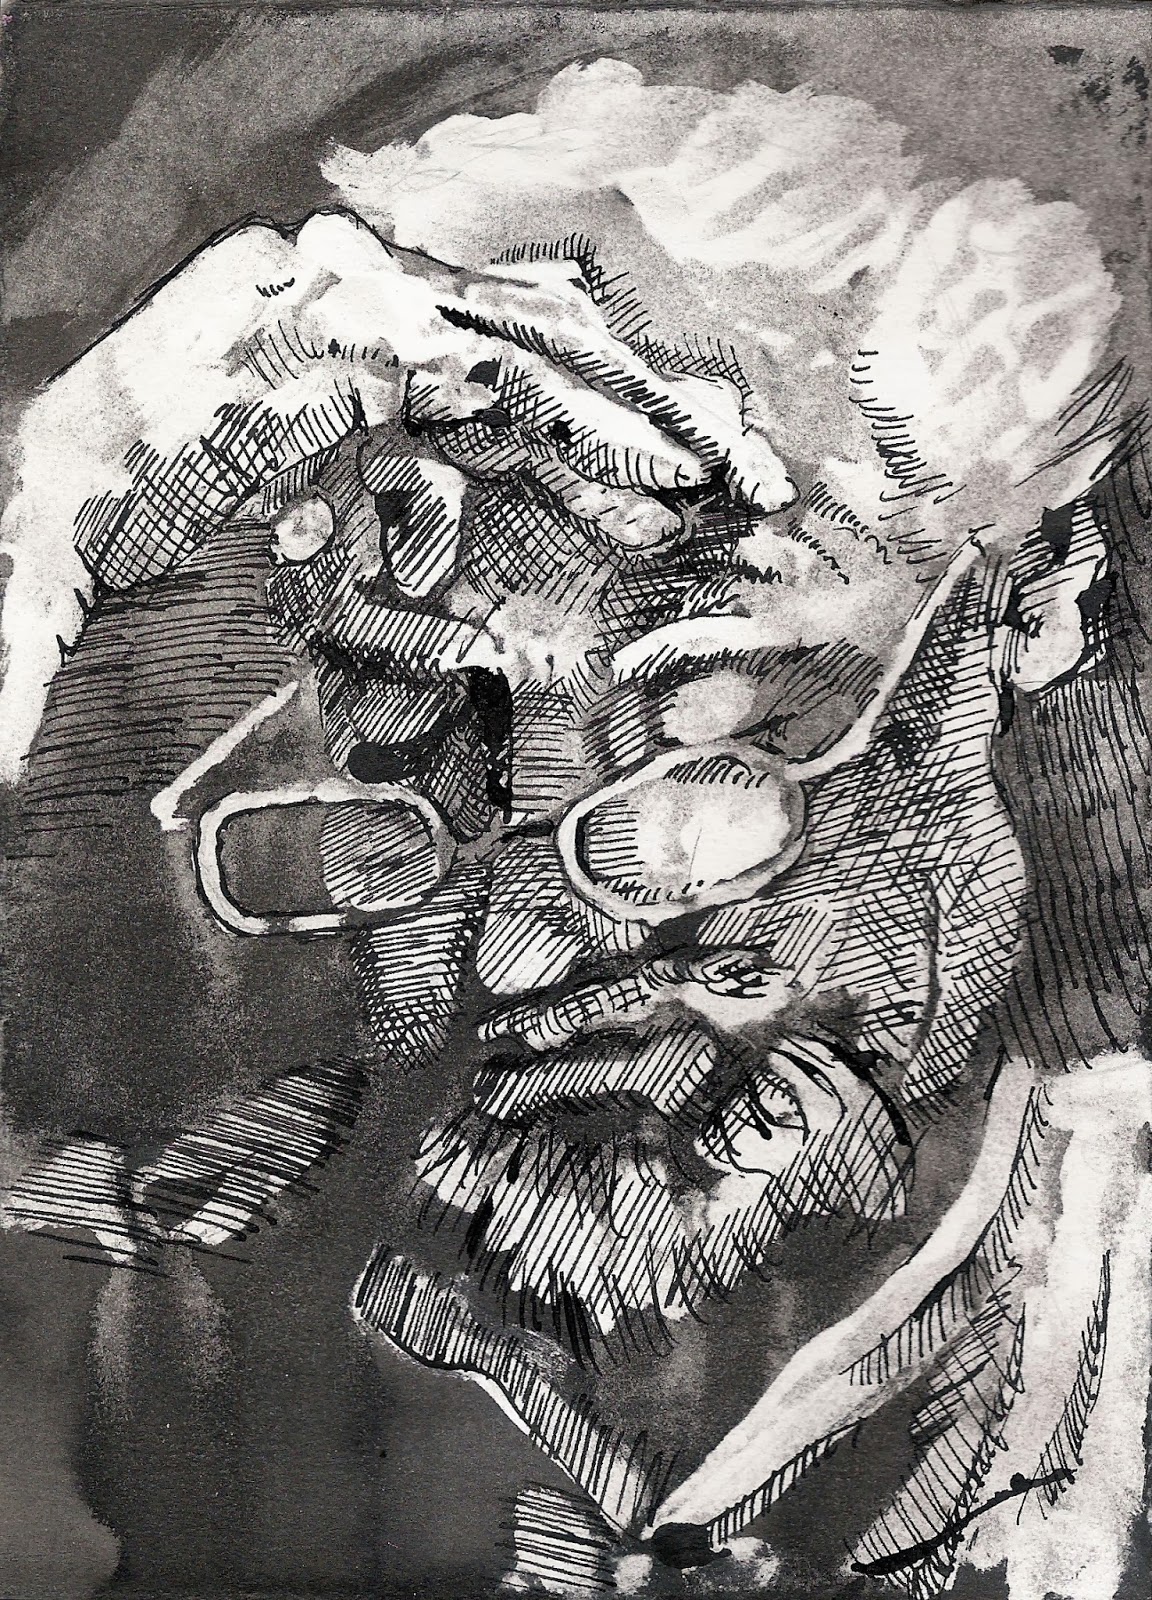
I was also making a lot of drawings with a gouache resist and India ink technique. Here are some of THOSE--wow, this kindof seems like a lot, but that's what I get for not posting for an entire month.
So what was I doing in May?
I guess I didn't post anything, but I was very busy. One thing I was doing was making color reduction linoprints.
Here they are:
Here they are:
Sunday, February 2, 2014
29 Faces in February
Whoa! It's that time again. This will be my third time, and I will again choose a medium that I've never really used before. The first one was gouache resist and ink; the second was linocut; this one will be monoprints.
Here is part of the first batch. I made six. These first two are the last two I made, and the ones that I like the best, just as they are. They definitely take practice.
These next two are the first two, which I have "tweaked" with some pen and ink, which I also plan on doing with the other two.
As frustrating as it is to work with ink on a plexiglass plate, I'm really liking the immediate results. The black (which is relief printing ink) is SO rich, and there's such an opportunity for easy complexity (easy, as opposed to, say, pen and ink, which requires much hatching).
Saturday, February 1, 2014
Other ridiculous things that don't really work
I have some ideas in my head--but how to execute them? This is definitely NOT the way, but then, you can't ever know until you try something out.
Although I love some things about colored tissue paper, I think ultimately it's too frustrating to work with.
This one I like a little better, because of all the "stuff" that's going on, but this whole out-the-mouth idea is dumb. I think I'd like this one more if I just made it plain black immediately around her head, including her mouth.
Saturday, January 25, 2014
Now what???
I did these all as a "first stage", but I think they're so pretty this way that I don't want to wreck them. I don't usually feel that way. So I'm not sure at all what to do next.
Sunday, January 19, 2014
Wheat Paste Resist explained

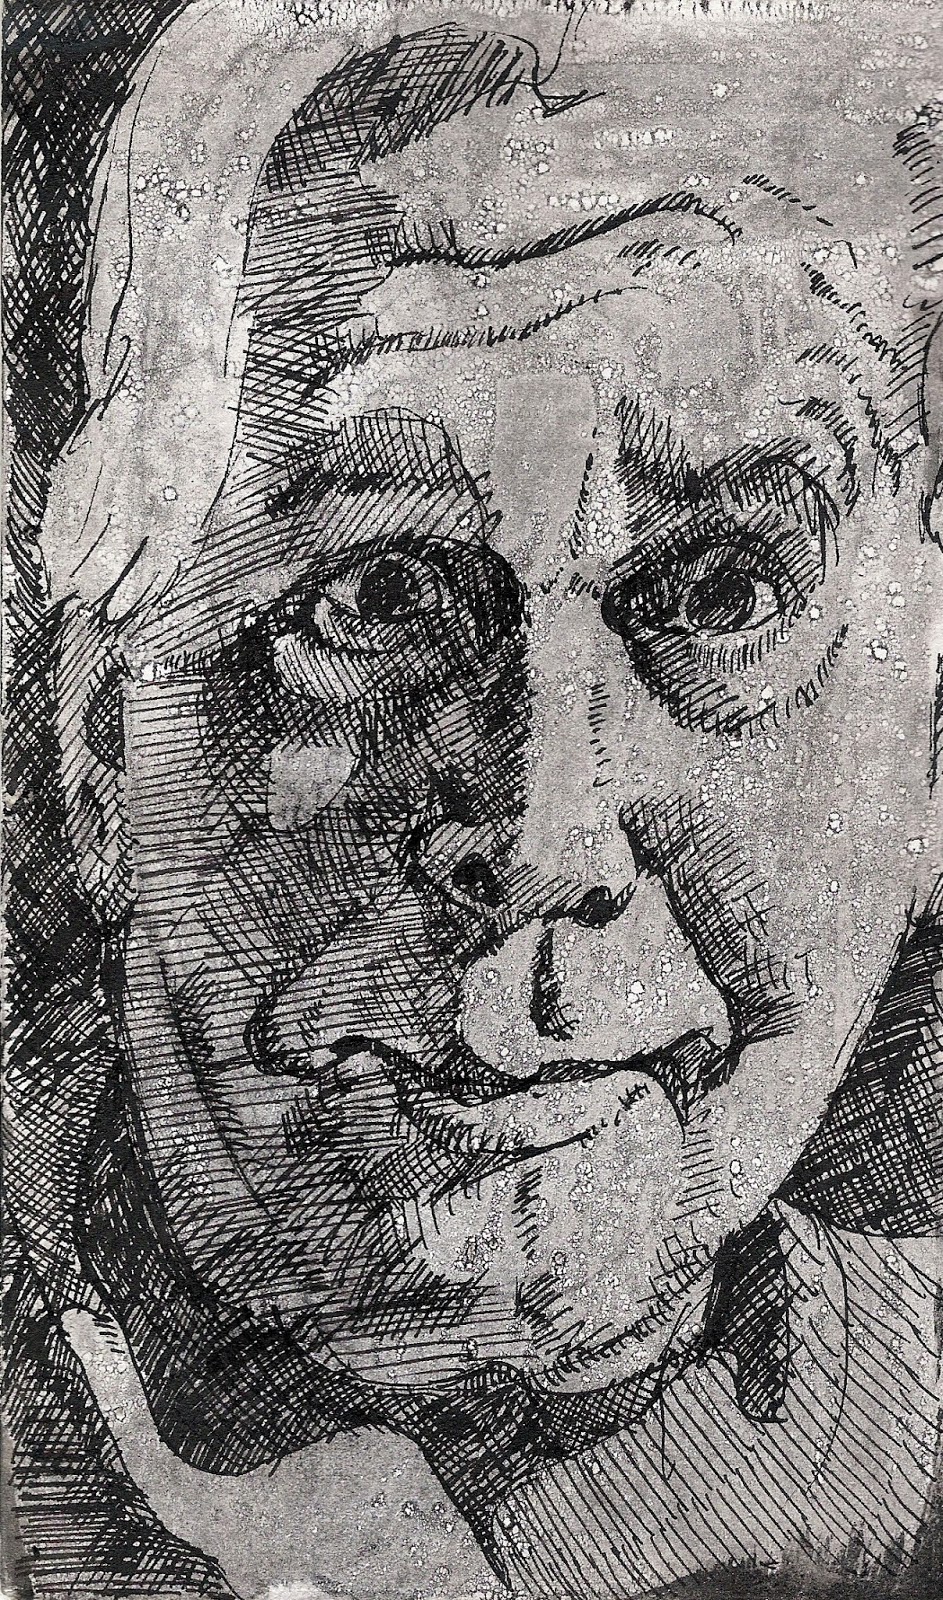
Here is latest batch of wheat paste resist portraits, and as several people were asking how I did them, I am going to attempt an explanation.
First off: the wheat paste--This is just a mixture of white flour and water. Remember making paper mache things when you were a kid? It's exactly the same thing. I experimented some with how thick it should be, and concluded that I like it best when it's really thick, like thick pancake batter.
Then, I brushed it onto the paper. The paper needs to be really good paper (ie, 100% rag paper) and really thick paper (300 whatever unit is used to measure thickness--pounds? grams? I don't remember), and this is because it's going to be subject to a lot of soaking and rubbing when its wet, and you don't want it to disintegrate.
Let it dry. It will take awhile (at least 24 hours), and it will curl up.
When it's dry, very gently flatten it out, and maybe even bend/roll it the opposite direction. You may or may not be able to see the cracks in the dried wheat paste, but they're there.
Then, brush full-strength India ink over the entire surface. Drench the surface. What's going to happen is that the ink is going to seep through the cracks in the paste (which are most likely invisible to your eye) to the paper.
Let the whole thing dry. Another 24 hours is probably best, as you want even the ink deep in the cracks to be 100% dry.
When it's completely dry, run warm water over it in the sink. Gently rub on the surface. Some of the ink will come off, and you'll get down to the now slippery wheat paste level. At this point, I leave the paper soaking in water because it takes awhile for the wheat paste to soften up. Periodically, rub gently over the surface. Eventually, you'll rub off all the wheat paste (and do get it all, for while the paper may be acid-free, mice love wheat paste).
You'll end up with something like this:
At this point, you have an interesting surface, which you can then put ink washes on, draw on with pen and ink, or do anything else that appeals to you.
On most of these I also did an additional gouache resist on the side of his face (cheek, nose, chin, etc.) for the white areas (I had made a drawing on the paper before I started anything, but all the pencil gets rubbed out with the wheat paste, so I basically had to redraw everything with only the white spaces as guides. All of these have a wash of ink over the original wheat paste crackle, which I then let dry before I started the pen and ink drawing.
This one doesn't have the gouache resist, and it feels way too gray to me. Also, the wheat paste was too thin, and didn't get the crackling effect. (But I like the drawing!)
This one didn't work out so well. The paper tore from the cracking of the wheat paste (from her nose out to the right side of the paper), which is one of the dangers of this. Okay, also the drawing wasn't very good.....
I liked this next one a lot....even though the glasses turned out all wonky.
And this one didn't turn out very well either. I completely lost the drawing in the washout, and it didn't reconstruct very well.....
So I have about a half and half success rate. Two of these I REALLY like, one is okay, and two didn't work out at all....
Labels:
JKPP,
pen and ink,
portrait,
wheat paste resist,
wrinkles
Tuesday, January 14, 2014
Gouache resist and ink
I've really been remiss about posting, I think because I have also been posting these to my Flickr account. Here's the link if anyone is interesting in checking it out: http://www.flickr.com/photos/kansas-coreopsis/
But here are the gouache resist and ink pictures I've been making.... Some of them I really like.
Labels:
gouache and ink,
JKPP,
pen and ink,
portrait,
wrinkles
Wheat Paste Resist
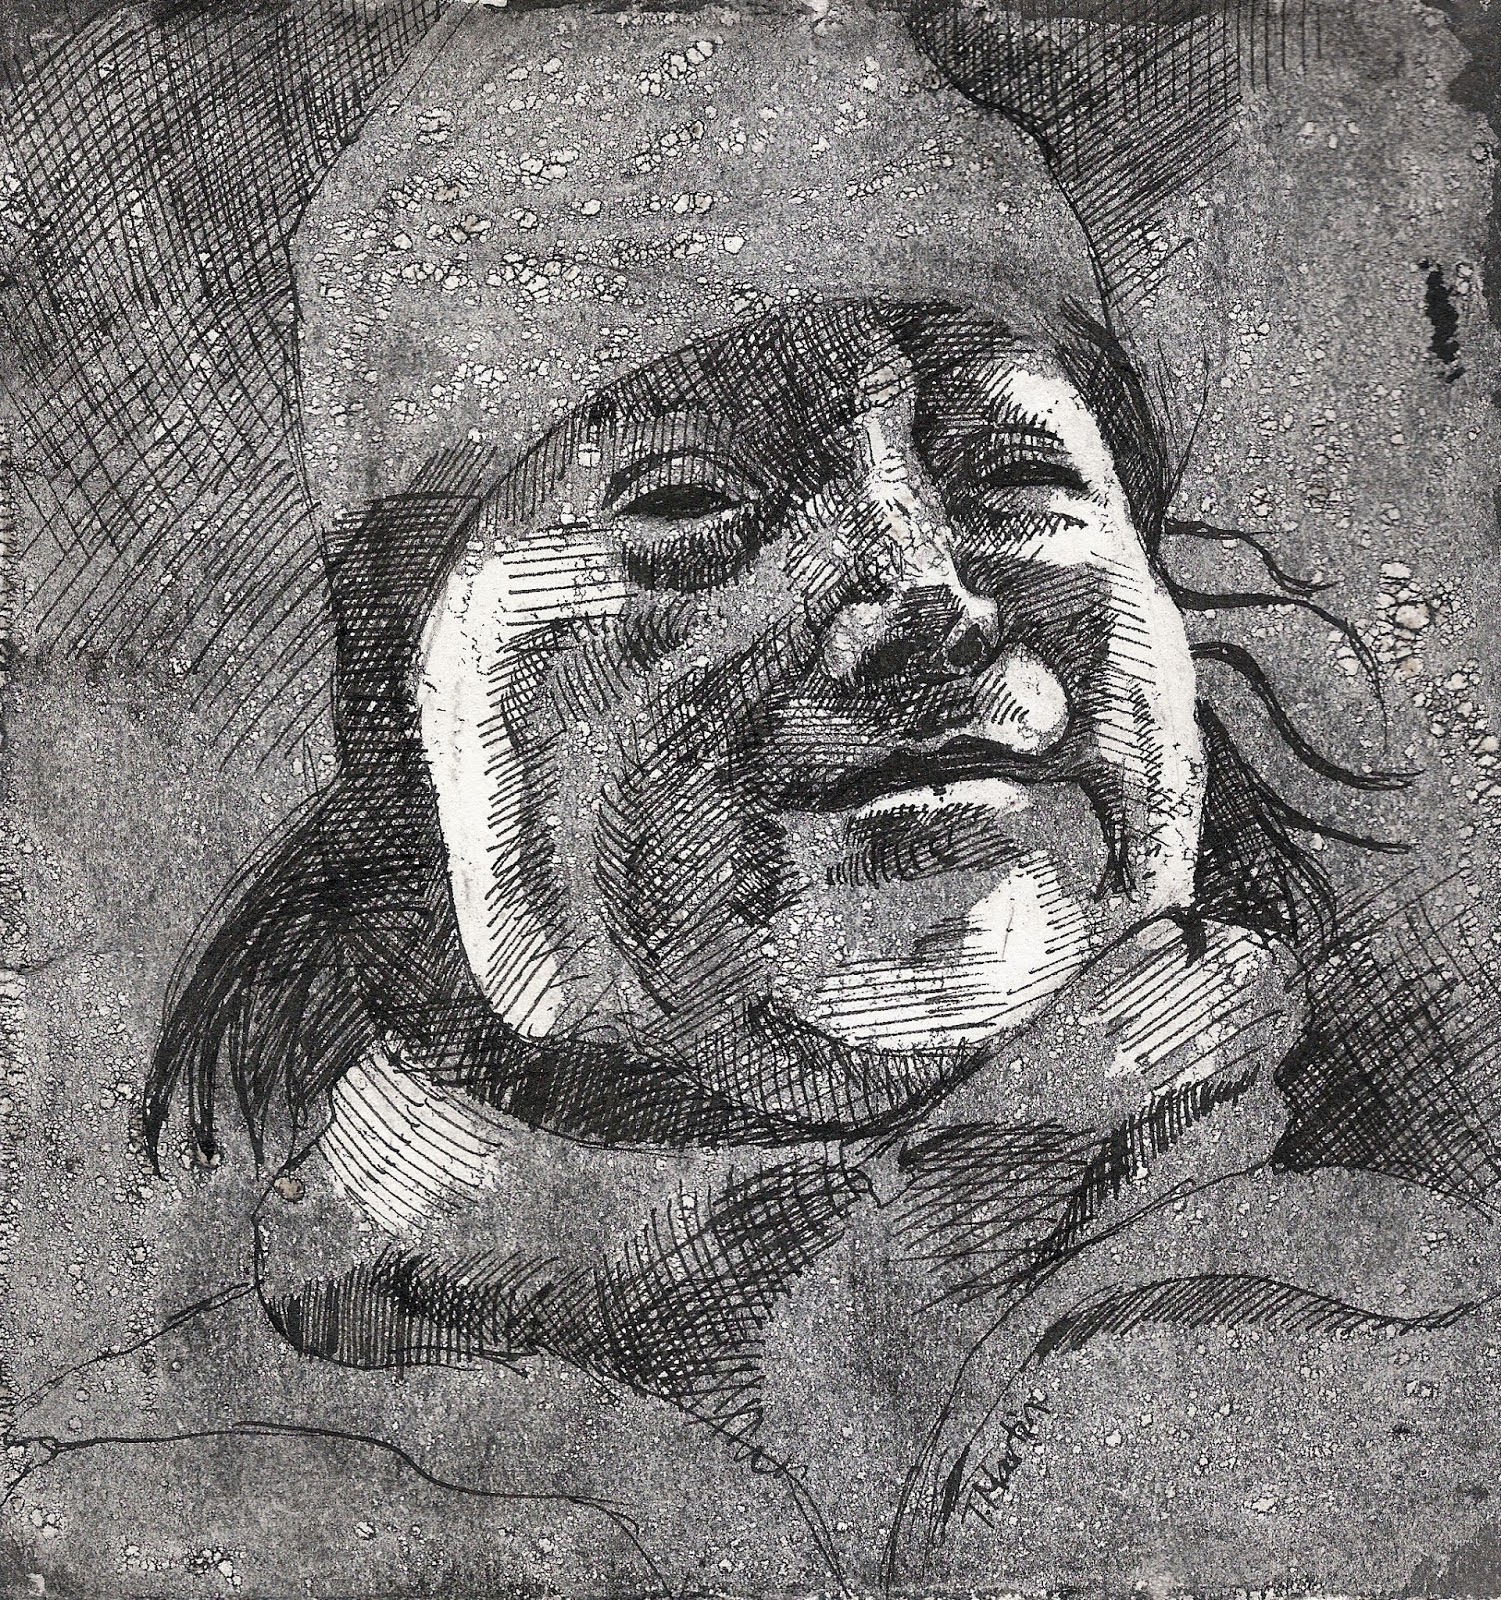
I've been playing around with a new technique--wheat paste resist. A friend has been doing it on fabric, and I loved the crackly effect she got, so I've been trying it on paper.
The white areas then come from making a gouache resist, like I was doing before. It takes quite some bit of soaking and rubbing to get the wheat paste OFF again, but then it's ready for pen and ink.
I'm a little ridiculously pleased with these. I really like the texture, and like all resist techniques, I like the chanciness of them. This especially has some pretty random results, and I like having to work with that, and make the faces fit in with what happens with the wheat paste resist.
This one had the least amount of crackle of all (as in--zero), so I had to do almost all of it with cross-hatching, and I must say, that's way way way too much cross-hatching.
And then, there's the option of using ink washes. So many possibilities.
Labels:
JKPP,
pen and ink,
portrait,
wheat paste resist,
wrinkles
Monday, December 16, 2013
Lino Faces #55 - #57
I think I'm ready to do something else for awhile. I'm nowhere near to my goal of 100 of these, but I'm CRAVING a more fluid medium, something where I can have more subtlety.
I'm thinking of going back to pen and ink with ink washes, or even those gouache and ink resist drawings, with pen and ink over them. Charcoal? Pencil? Ball point pen?
I really like these, except this one right here--the third one--which didn't work very well, but I want to DRAW!
What this has forced me to do was see differently, and now with this last one, a whole new direction of the linoprints is suggesting itself.....
Subscribe to:
Posts (Atom)